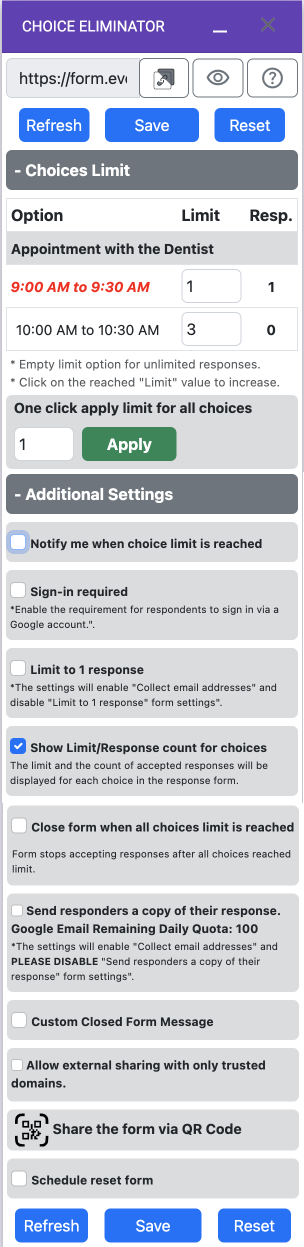
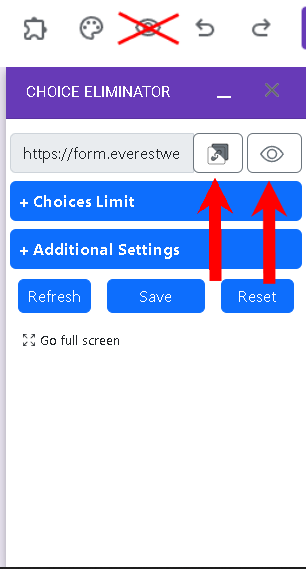
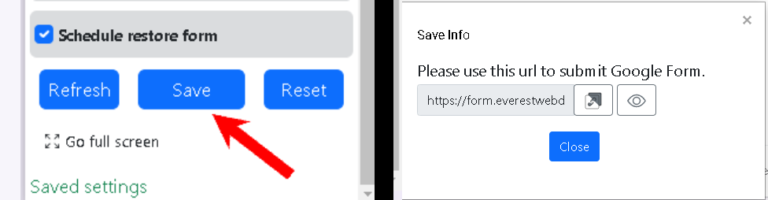
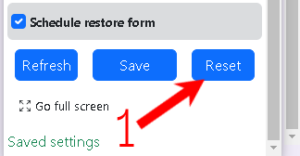
10. Once you are done configuring your google form, click “Save” to save your changes. After you do that a small window will popup which is where you can access the link, and can preview your Google Forms™, and you can also do that at the top of the configuration tab.